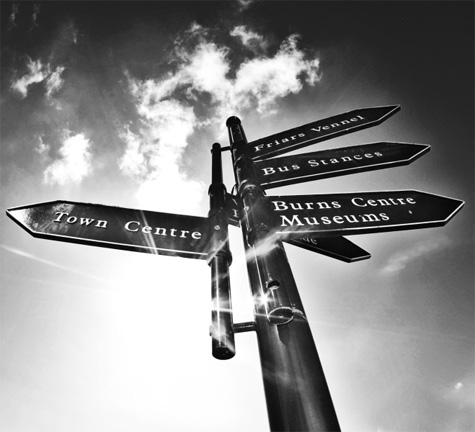
Ahh…wide angle photography, probably one of the easiest types of photo to take; but also one of the hardest to excel at.Have you ever tried to cram 30 people into a single photograph? You’d try to stack them, have some of them on the floor or even ask some of them at the back to jump at the press of the shutter!? You’re also trying to make sure that you are able to see the faces of these people in the photograph. Difficult if your camera’s lens is not wide enough and you have to move yourself further back to accommodate, which may not be possible if space is limited. When shooting indoors with flash, moving back may even give you an underexposed photograph, as flash is often not powerful enough to reach longer distances.

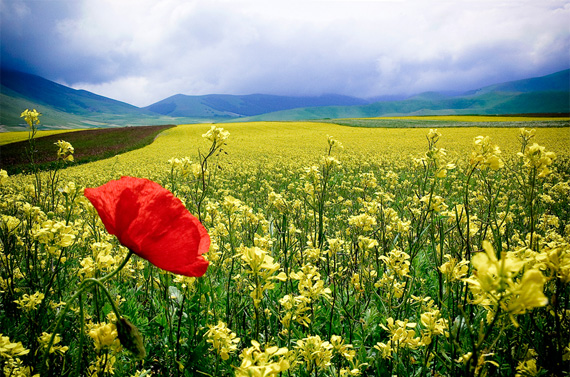
"The Peak H" captured by Ossie (Click Image to See More From Ossie)
Apart from the utilitarian purpose of getting good group photographs, shooting wide angle lets you portray the scene in full detail with unusual and sometimes, exaggerated perspectives. This is especially true of super wide angle. Small objects can be made to appear larger than larger objects within the same scene, effectively shifting the balance of the image composition. When used well, it can bring attention to the subject of interest in the foreground, at the same time preserving the context of the whole image by showing the location or event in the background.
Wider Options
Lenses are categorized by their focal lengths. Typically, lenses fall into one of these categories:
- super wide angle (10~24mm)
- wide angle (24~35mm)
- standard (about 50mm)
- telephoto (70~300mm)
- super telephoto (300mm and beyond)
These numbers indicate the focal length, which describes the field of view achievable using that lens. Incidentally, the field of view of a 50mm lens is considered to be an approximation to what the human eye sees. For the DSLR owners, they can choose from a variety of lenses ranging from a super wide lens all the way up to a super telephoto. But what about the rest of us?
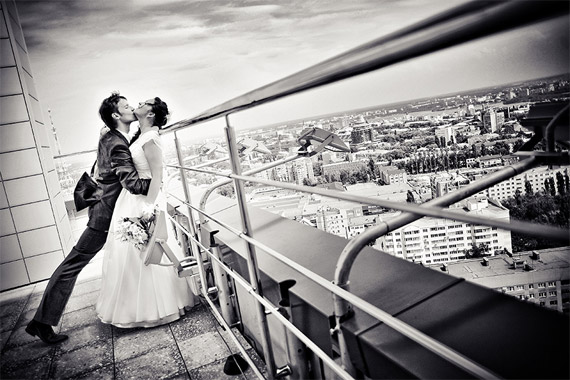
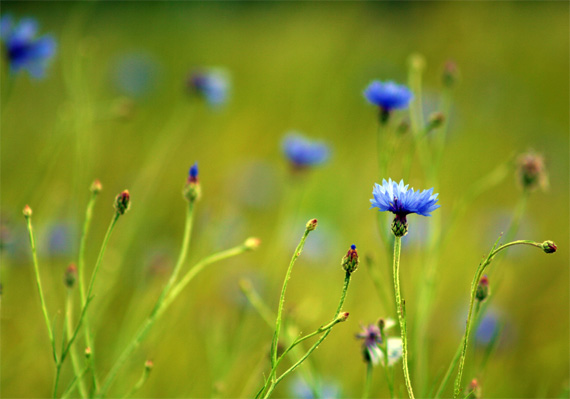
"Lines" captured by Alyona Arnautova (Click Image to See More From Alyona Arnautova)
Digital compact camera owners are not left out of the picture. There are a multitude of wide-angle adapters for digital compacts; both made available as accessories as well as by third-party manufacturers. These can be attached via lens threads or bayonet mounts on their bodies. There are also some from third-party lenses which can be attached magnetically!
Focal Length Multiplier
Note: The ‘focal length’ of the lens determines the ‘field of view’, which is the angle of view seen using this lens. ‘Field-of-view crop’ is often referred to as ‘focal length multiplier’ for the sake of simplicity.
Digital photography, from the hardware perspective, is based on principles of 35mm film cameras. For a photographer who shoots with film, there is no such thing as a ‘focal length multiplier’, because to them, everything is 1x. This means that a 50mm lens is a 50mm lens. Not so for a digital SLR. A 50mm lens virtually becomes a 75mm lens, when attached to a Nikon D200 digital SLR. This is because the ‘focal length multiplier’ of 1.5x causes the 50mm lens to have a field of view equivalent to a 75mm lens.
Shooting wide angle is basically one way of depicting a scene using a wider field of view, which in turn is achieved by using a lens with a focal length of less than 50mm on a 35mm film SLR camera. These days, with the proliferation of digital SLR cameras, there might be some confusion to how focal lengths are calculated.
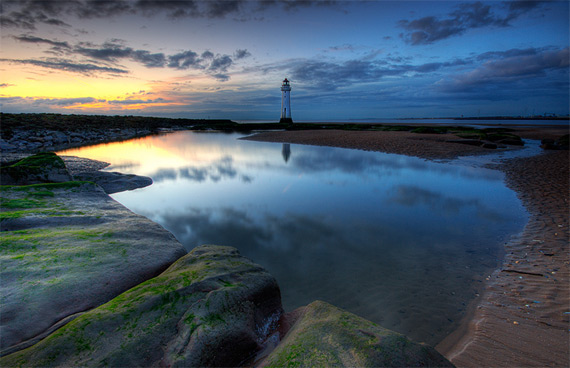
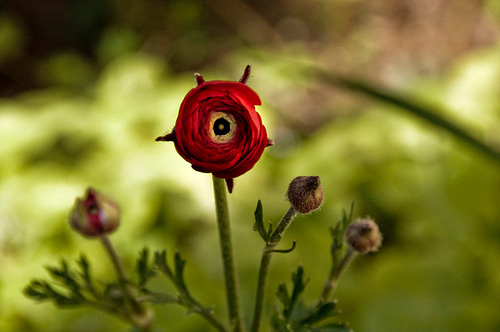
"Mersey Blues" captured by Mark Broughton (Click Image to See More From Mark Broughton)
To keep things simple, we can use this rule of thumb. If you are using a 35mm film SLR, your focal length multiplier is 1x.
If you are using a digital SLR, your focal length multiplier could be any one of these, depending on the model of DSLR camera: 1x (eg Canon 1Ds Mk II), 1.3x (eg Canon 1D Mk II), 1.5x (eg Nikon D200 or D70) or 1.6x (eg Canon 30D).
To get the actual focal length (and hence field of view achievable) of your lens, multiply the lens focal length with the multiplier.
Example 1 – Nikon D300 (multiplier is 1.5x) with a 17~70mm lens
The actual focal length range of this combination is 25.5mm-105mm, achieved by multiplying the lens range with 1.5
Example 2 – Canon 1Ds Mk II (multiplier is 1x) with a 70~300mm lens
The actual focal length range of this combination is still 70-300mm.
Example 3 – Nikon F5 (35mm film camera with multiplier of 1x) with a 15mm fisheye lens
The actual focal length of this combination is still 15mm.
The reason behind the focal length multiplier falls to the size of the recording media, the CCD or CMOS. Different cameras use different sized CCD/CMOS for different reasons eg. to make a smaller camera and for better power efficiency. For compact digital cameras which do not fall under the digital SLR category, focal length multipliers are rarely used because they don’t have interchangeable lenses. What they do have are wide angle adapters or telephoto adapters. A wide angle adapter may be referred to as a 0.7x wide adapter. What this number means is that this adapter shortens the focal length of the built-in lens by multiplying it with 0.7, effectively creating a wider field of view.
Super wide angle shots sometimes appear distorted, but they do show a lot more in the background, lending context to an image

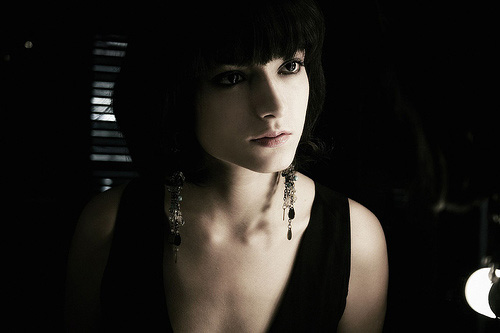
"Sandune" captured by Mukesh Dhruv (Click Image to See More From Mukesh Dhruv)
Focusing with Wide Angle Lenses
An inherent characteristic of camera lenses is that wide angle lenses come with more depth-of-field compared to telephoto lenses. This reduces focusing errors to some extent, which means that you can focus on almost anything around the center of the frame and get an acceptably sharp image. In this case, a small aperture further increases the chance of a sharp image. For best results though, we can use the “1/3 of the distance rule”. Look inside your camera viewfinder, estimate the distance from the nearest point that is visible in the viewfinder, to the furthest point that is also visible in your viewfinder. Focus on a point that is roughly one-third of the distance away from you. If you cannot use autofocus effectively on that point (perhaps due to very dim light levels or low contrast early in the morning on a mountain), you can estimate the distance and manually focus your lens, using the distance scale on your lens. A small aperture (eg. f16) gives you more depth-of-field, so use it if possible. That’s why it’s good to carry a tripod, which will let you use smaller apertures without camera shake.
Composing with Wide Angle Lenses
Wide angle photography has its own set of challenges. While it lets you show more of the scene, sometimes less is more. If not properly framed, a super wide angle image may include distracting elements which detract from your image, because a wide angle lens sees a wider field of view than a normal lens. Therefore it’s good to fill the frame well, composing it in such a way that only the necessary elements are included. Landscape photography is a classic candidate for using wide angle lenses. In order to shoot great landscape photography, foreground interest is important. Wide angle lenses let you include a sizable portion of the foreground in the frame, so use it well by choosing a foreground that is actually interesting.
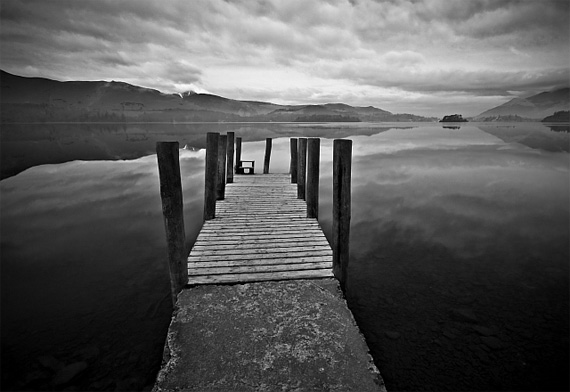
"Morning of Potential" captured by Steve Partridge (Click Image to See More From Steve Partridge)
When shooting super wide angle, we can also get away with a slower shutter speed because the shorter focal length downplays slight camera shake errors, opening up new possibilities with photography. One example is hand-holding your SLR camera in a busy street downtown, capturing a sharp image of your subject while rendering the pedestrian traffic as a blur, due to the slower shutter speed.
Wide Angle Care
Exercise more caution when handling your DSLR or digicam with a wide-angle lens/adapter. Some wide angle lenses have protruding glass which is more exposed and susceptible to accidental contact with dirty fingers or worse, it may end up getting scratched. If your lens accepts a UV filter, get one. It will protect your lens from countless dangers. Many wide angle lenses allow you to focus closer than a telephoto lens, so a lens hood helps to some extent to protect your lens from your overzealous attempts to get a closer shot.
Wide angle photography is exciting, go forth and experiment!
About the Author
Andy Lim conducts practical hands-on photography workshops. If you would like to make quicker progress in the amazing world of digital photography, Andy Lim recommends a great online photography course called
Digital Photography Success.

